Soooo far out of my comfort zone: rainbows, all-about-me AND splatters! all inspired by The Nook...
Realized, after a convo at The Nook, that I haven't done tutorials - at all or in a very long while. So today I have two How-To's - or How I Do's! The first is adding a color overlay, the second is making a rainbow overlay. I hope to work on the page How-To over the next few days.
Color overlay 101
Step 1
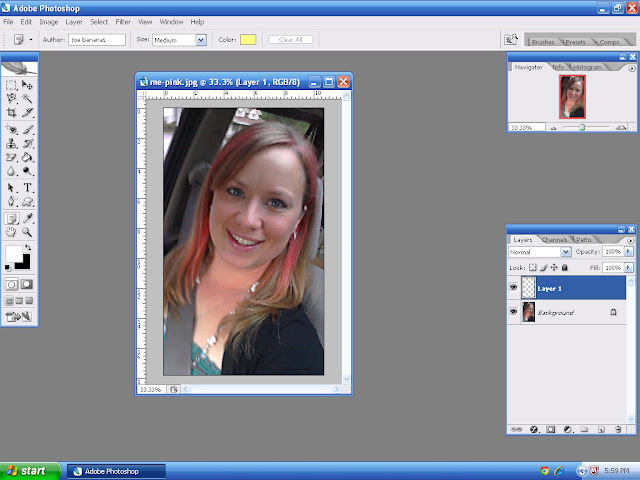
Choose & edit your pic to black and white (either by a filter or by Image>Mode>Grayscale in PS CS2).

Step 2
Merge layers if applicable; Add a new layer on top of your photo (in PS CS2, Ctrl/Shirt/N).
Step 3
You may have to put your canvas back into RGB Color.
Step 4
Select a foreground color - start with a bright color, you can always adjust it later.
Step 5
Use your paint bucket tool to completely fill in the top empty layer.
Step 6
Adjust the Opacity to obtain your desired effect. I chose an opacity from 30% - 50%.
Step 7
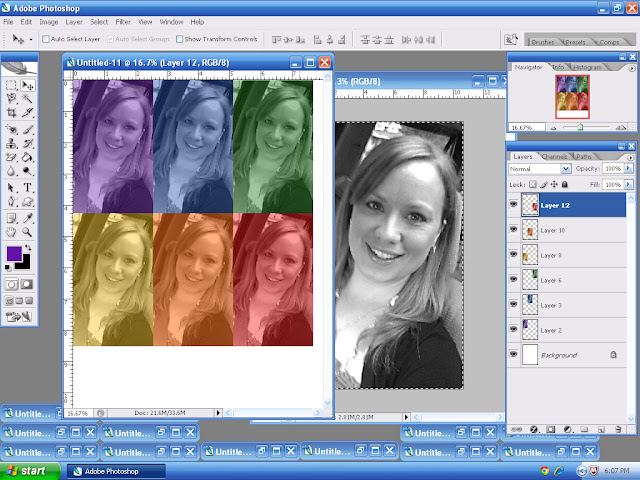
Repeat steps 5 & 6 with different colors. You can create new layers (and turn lower layers invisible) or open new windows.
(flash forward ahead to creating steps 5 & 6 with all desired colors):
Step 8
To prepare a document to print, create a new window the size of your printer (mine doesn't print 1/4 in on all sides so I open a doc 8"x10.5").
Add in bottom layer and one of the colored layers. Merge color and photo layer.
It may look something like this:
Last step
Print, cut and enjoy!
Rainbow Overlay 101
Step 1
(Please disregard the previous layers with other colors - they are turned 'off', or are invisible, as you can see, and have no baring on the following tutorial.)
Copy and paste original/black and white into a new layer.
Select the Gradient Tool (often close to your Paint Bucket Tool).
Step 2
Select the rainbow (or desired effect).
Step 3
"Draw" a diagonal line through photo - drawing in different directions and angles will effect the gradient in the next step.
You should see something similar to this:
Step 4
Just like in the Color Overlay tutorial, adjust the Opacity of the gradient layer.
...and voila! Rainbow You!


5 comments:
Hi there!!!! LOVE this page! It would have qualified for the neon challenge if you ask me. :) THANK YOPU for the PS tutorial- I can't believe I've been using that program for 10 years and still barely know how to do anything but retouching!
I really like the fussy cut flowers and the circle- those are really cool design elements!
Suuuper cool LO - and you are SO pretty!
Gorgeous result!!
I am with WillieburgScrapper in thet I've had Photoshop for the longest time but it seemed so tricky the forst time that I felt I never really had the time to learn.(You know what they say; it gets more difficult as you get older, I hope that's not true...) This great tutorial is a nudge in the right direction, maybe this Summer..
It has been lovely getting to know you a little!!
I love this tecnique i used it once before & i should again!! xx
i cant anything about this post. it contains lots of information. i had much fun reading it. gave me lots of insights. keep up the good work. keep posting more of these.
Post a Comment